简介
electron 是基于 nodejs的一个封装了一个谷歌的浏览器内核,让我们写js代码就可以开发出来一个桌面应用,适合web项目 封装单机版.
npm 依赖
直接加入
1
"electron": "^9.2.0",
就直接吧 electron依赖进来了
main.js是 electron默认的入口文件 在里面我们就可以开始我们的开发了,可以参照官方文档
启动
1 | { |
打包
1 | { |
打包后的样式如下
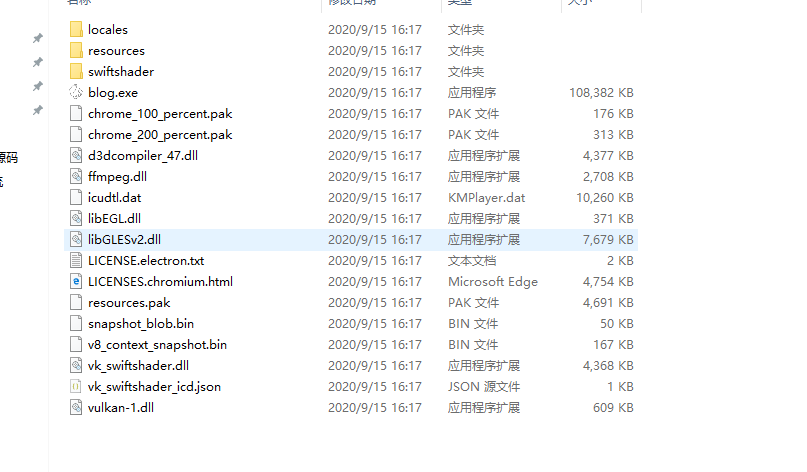
双击 exe就可以运行!
electron 是基于 nodejs的一个封装了一个谷歌的浏览器内核,让我们写js代码就可以开发出来一个桌面应用,适合web项目 封装单机版.
直接加入
1
"electron": "^9.2.0",
就直接吧 electron依赖进来了
main.js是 electron默认的入口文件 在里面我们就可以开始我们的开发了,可以参照官方文档
1 | { |
1 | { |
打包后的样式如下
双击 exe就可以运行!